

How to Taste Chocolate Like a Pro
You unwrap a beautiful bar, take a bite, and notice only “sweet” or “bitter.” A few seconds later, the piece is gone, and you're left wondering why the chocolate looked so complex on the label but tasted so simple. The missing ingredient usually isn't a more experienced palate. It's a repeatable way to slow down and notice what happens before, during, and after the melt.
Learning how to taste chocolate like a pro means giving each sensation its own moment. You'll look at the finish, listen for the snap, smell before tasting, let the chocolate melt, and record how the flavor changes. With practice, origin, fermentation, roast, conching, texture, and finish become easier to distinguish.
Why Purposeful Tasting Transforms Your Chocolate Experience
Consider two people sharing the same dark chocolate bar. The first person breaks off a square while answering messages, chews it quickly, and says, “It's pretty bitter.” The second person studies the surface, smells the piece, lets it soften slowly, and notices a bright opening followed by roasted depth and a lingering earthy finish. Neither person has a “better” palate. The second person gave the chocolate enough time to speak.
Casual eating is built around preference. Do you like it, or don't you? Purposeful tasting adds observation before judgment. Instead of treating a bar as one fixed flavor, you notice how appearance, aroma, taste, texture, and aftertaste interact.
Chocolate's character can reflect the cacao's origin, fermentation, roast, refining, and conching. A structured approach helps you separate those influences rather than placing every impression under one broad label such as “dark” or “fruity.” The Cacao of Excellence flavour guide describes standardized evaluation as a way to treat samples under identical conditions so the true flavour potential of each origin can emerge without processing bias. This guide is one of many examples of how to evaluate chocolate objectively.
A useful shift: Don't ask only whether you like the chocolate. Ask what appears first, what develops next, and what remains when the piece has melted.
That question changes the entire experience. A bar that seems sharp at the beginning may become floral in the middle. Another may open with fruit but finish with roast and dryness. Two chocolates with similar cocoa percentages can still feel completely different because percentage doesn't tell you how the cacao was grown or processed.
Purposeful tasting also gives a group a shared language. One person may call a note “tart,” another “citrusy,” and a third “like red fruit.” Those descriptions don't need to match perfectly. The goal is to become more precise, compare observations, and understand why the chocolate creates those impressions.
Setting Up Your Tasting Environment and Palate
A tasting can change before the first bite. Set up a quiet space with neutral smells, steady lighting, and a clean surface. Put away perfume, essential oils, scented candles, strongly flavored foods, and anything else that could cover delicate aroma. The goal is to let the chocolate's flavor progression remain visible from its first note to its finish.
Serve each sample at room temperature, around 68 to 72°F. Cut consistent portions of about 2 to 5 grams, a practical size recommended by independent craft chocolate tasting methods. A cool bar may seem hard and muted, while an overly warm piece can soften before you evaluate its aroma. Consistent conditions make roast and origin differences easier to recognize.
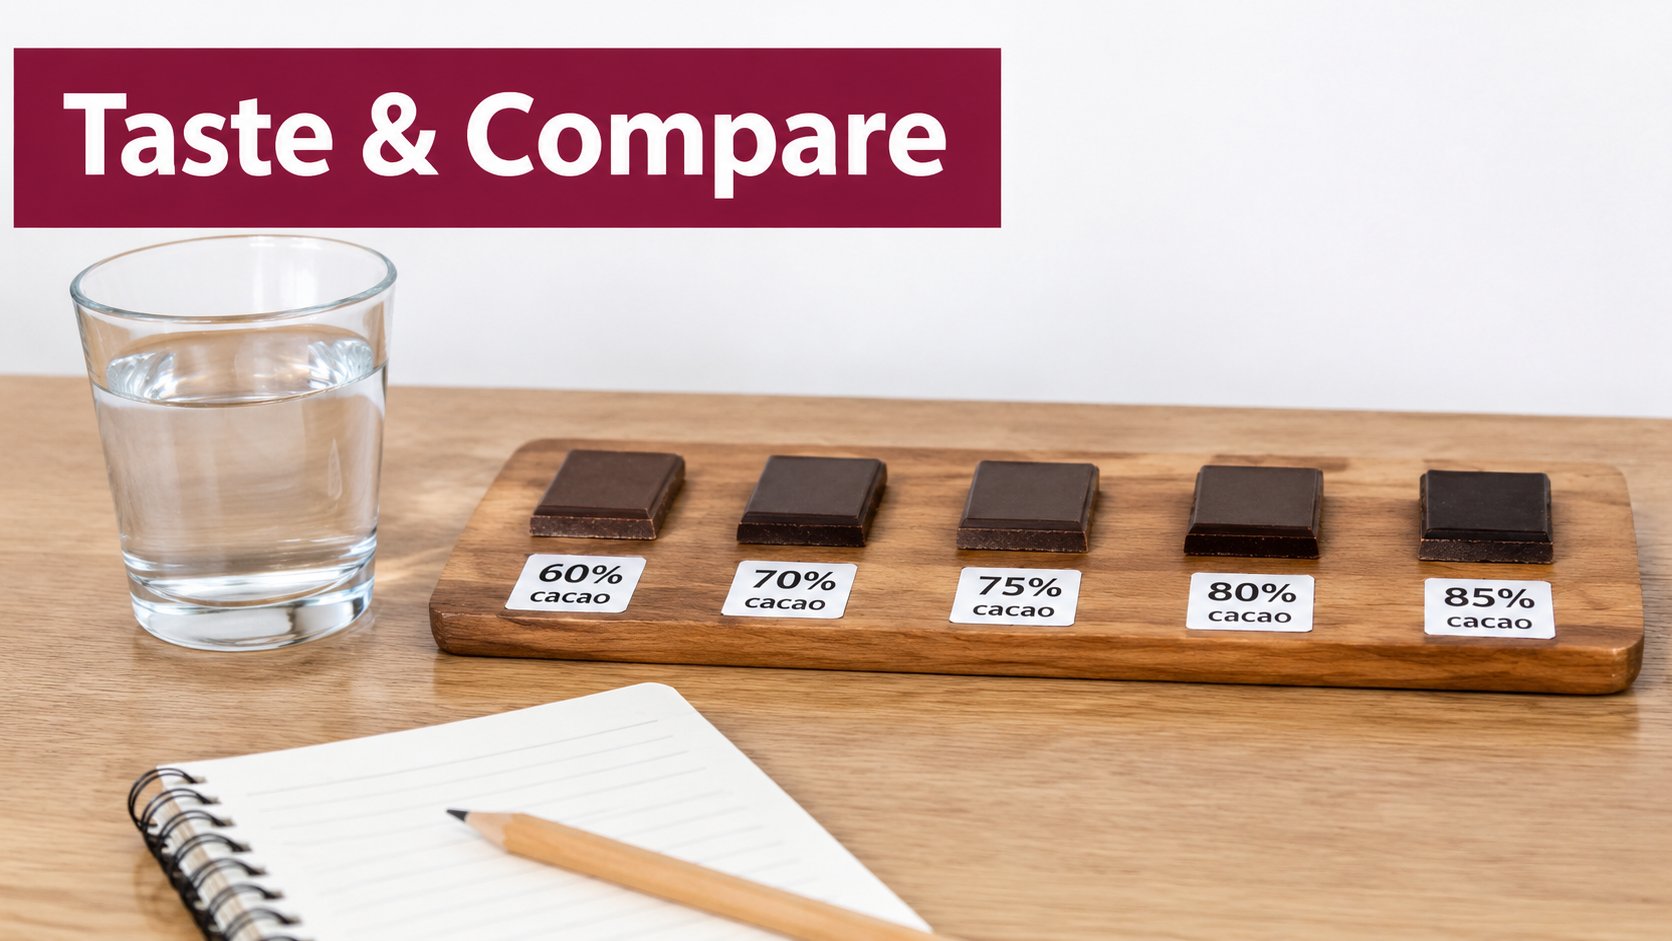
Prepare your palate
Use plain water between samples. We recommend warm water >35°C, or >95°F to cleanse the palate without adding another flavors. Keep the session focused. A commonly used protocol limits a session to 5 samples and a day to 2 sessions, while other tasting educators suggest 3 to 5 samples, so the palate does not become blanketed by flavor. Progress from lower to higher cocoa intensity. This order gives early samples room to show lighter notes before stronger roast or bitterness takes over.
Rinse your mouth and pause between pieces. Skip coffee, citrus, cheese, spicy food, and other strongly flavored cleansers. Lingering flavors can make the next sample seem more acidic, bitter, sweet, or aromatic than it is.
For a direct comparison of roast effects across origins, Fresco Chocolate's Roasting Tasting Flight - Grande includes ten bars from five origins. Each origin appears in two roast levels, allowing you to follow how darker or lighter roasting changes the flavor path. The chocolate ingredients are limited to organic cocoa beans, organic cane sugar, and organic cocoa butter. For the allergy conscious, these bars are nut free, dairy free, gluten free, and soy free.
The Core Sensory Sequence From Appearance to Finish
Hold the chocolate under good light before tasting it. Look for an even surface, consistent color, visible bloom, bubbles, or other marks in the bar. Bloom doesn't automatically mean the chocolate is ruined, but it can affect appearance and texture, so record what you see rather than treating the visual inspection as decoration.
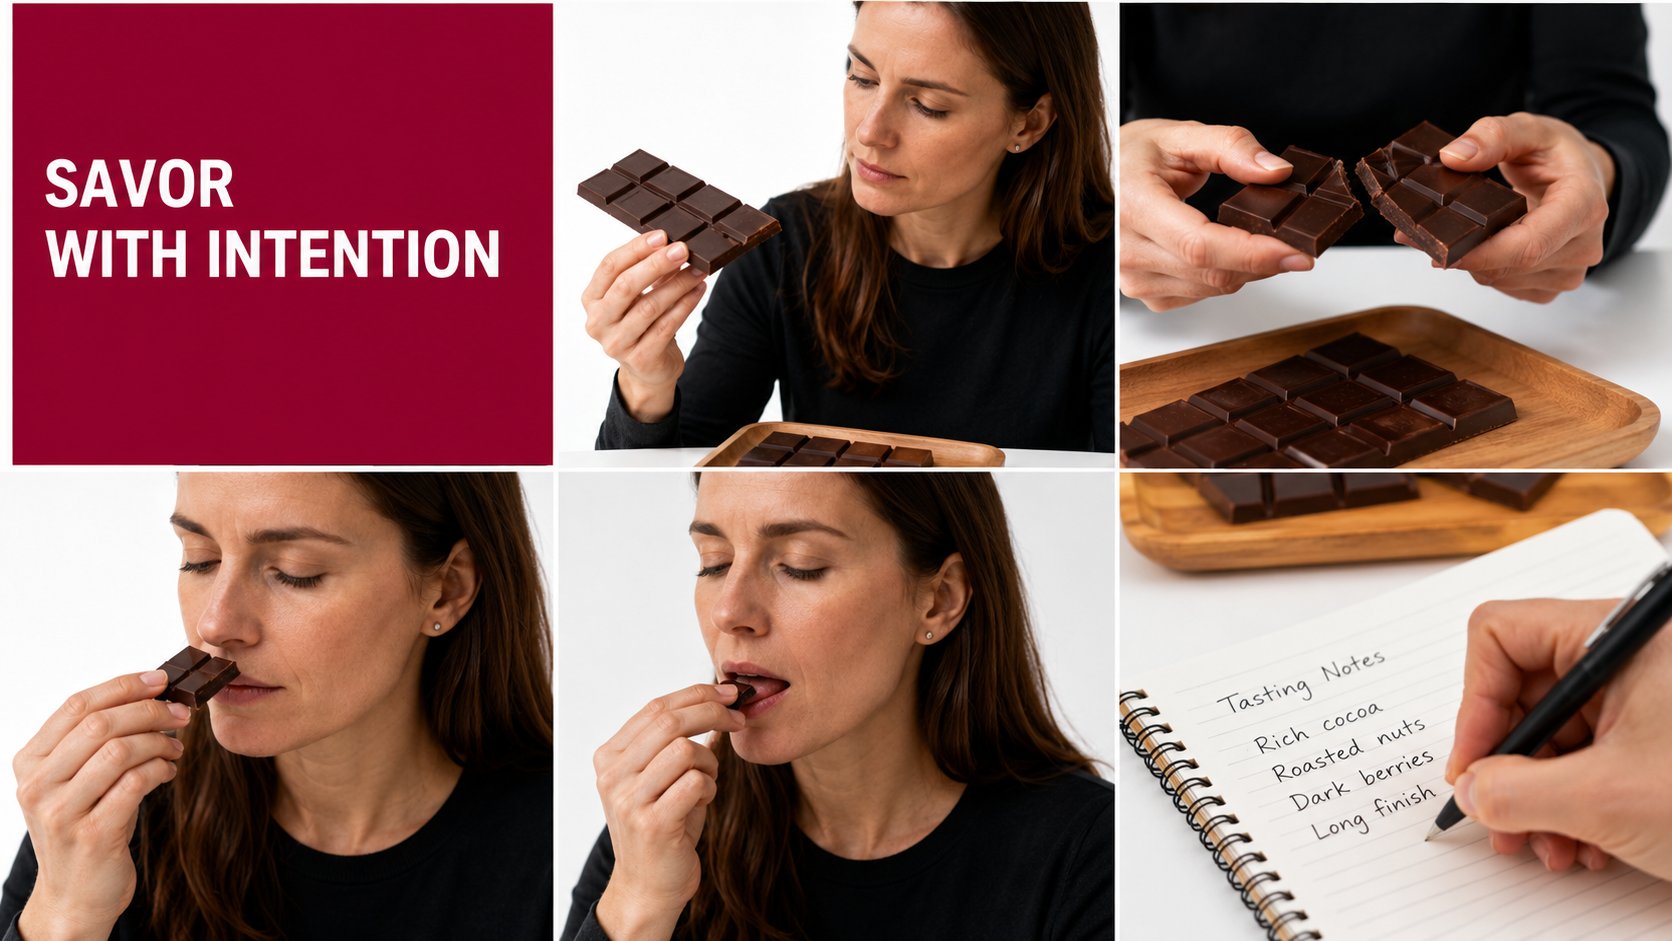
Break and listen
Break the bar cleanly and listen. A crisp, ringing snap is commonly treated as a sign of proper temper, especially when the chocolate feels dry to the touch and breaks into two firm pieces. A dull break may reflect the formulation, temperature, thickness, or temper, so use the sound as an observation rather than a final verdict.
Run your eyes over the broken edge. A smooth, compact break can suggest one texture, while visible bubbles or a rough structure may prepare you for a different melt. You're building a first impression that you'll later test against aroma and mouthfeel.
Smell before you bite
Bring the broken piece close to your nose. Smell it before placing it in your mouth, then gently warm it between your fingers or rub the surface lightly. Warming helps release volatile compounds, but keep the contact brief so you don't melt the piece prematurely.
Start with broad impressions. Does it seem fruity, roasty, floral, earthy, nutty, or spice-like? You don't need to identify a precise ingredient. “Warm fruit” or “dry wood” is more useful than forcing yourself to name a specific note you can't confidently recognize.
Let it melt
Place a small piece on your tongue and allow it to soften until it coats the palate. Don't chew immediately. A widely used tasting handout advises letting chocolate melt slowly on the tongue, within about 30 seconds, while breathing across it to release aroma compounds. The Cacao of Excellence evaluation guidelines also describe chewing 3–4 times, letting the chocolate melt, and rinsing between samples.
Pay attention to the physical experience. Is the melt creamy, waxy, sandy, dry, or quick? Does the chocolate coat the mouth evenly, or does it break apart? Mouthfeel isn't separate from flavor. A slow, coating melt can make roast or fruit notes feel more persistent, while dryness can emphasize bitterness or acidity.
Finish without rushing
After swallowing, wait. Notice what stays, what disappears, and whether the finish feels clean, sweet, bitter, acidic, roasted, earthy, or drying. Write the observation down before reaching for water, because the final impression often reveals the bar's balance more clearly than the first bite.
Tracking How Flavors Evolve Over Time
Chocolate doesn't deliver every sensation at once. Bitterness, sweetness, acidity, roast, fruit, aroma, and texture can rise and fade at different moments, which is why a single static tasting note can miss the character of the bar. Sensory researchers use time-intensity and temporal-dominance methods to study this changing experience, as described in research on dynamic chocolate perception.
Use three time windows: initial, middle, and residual end-flavor. You don't need specialized equipment. A watch or a calm sense of sequence is enough.
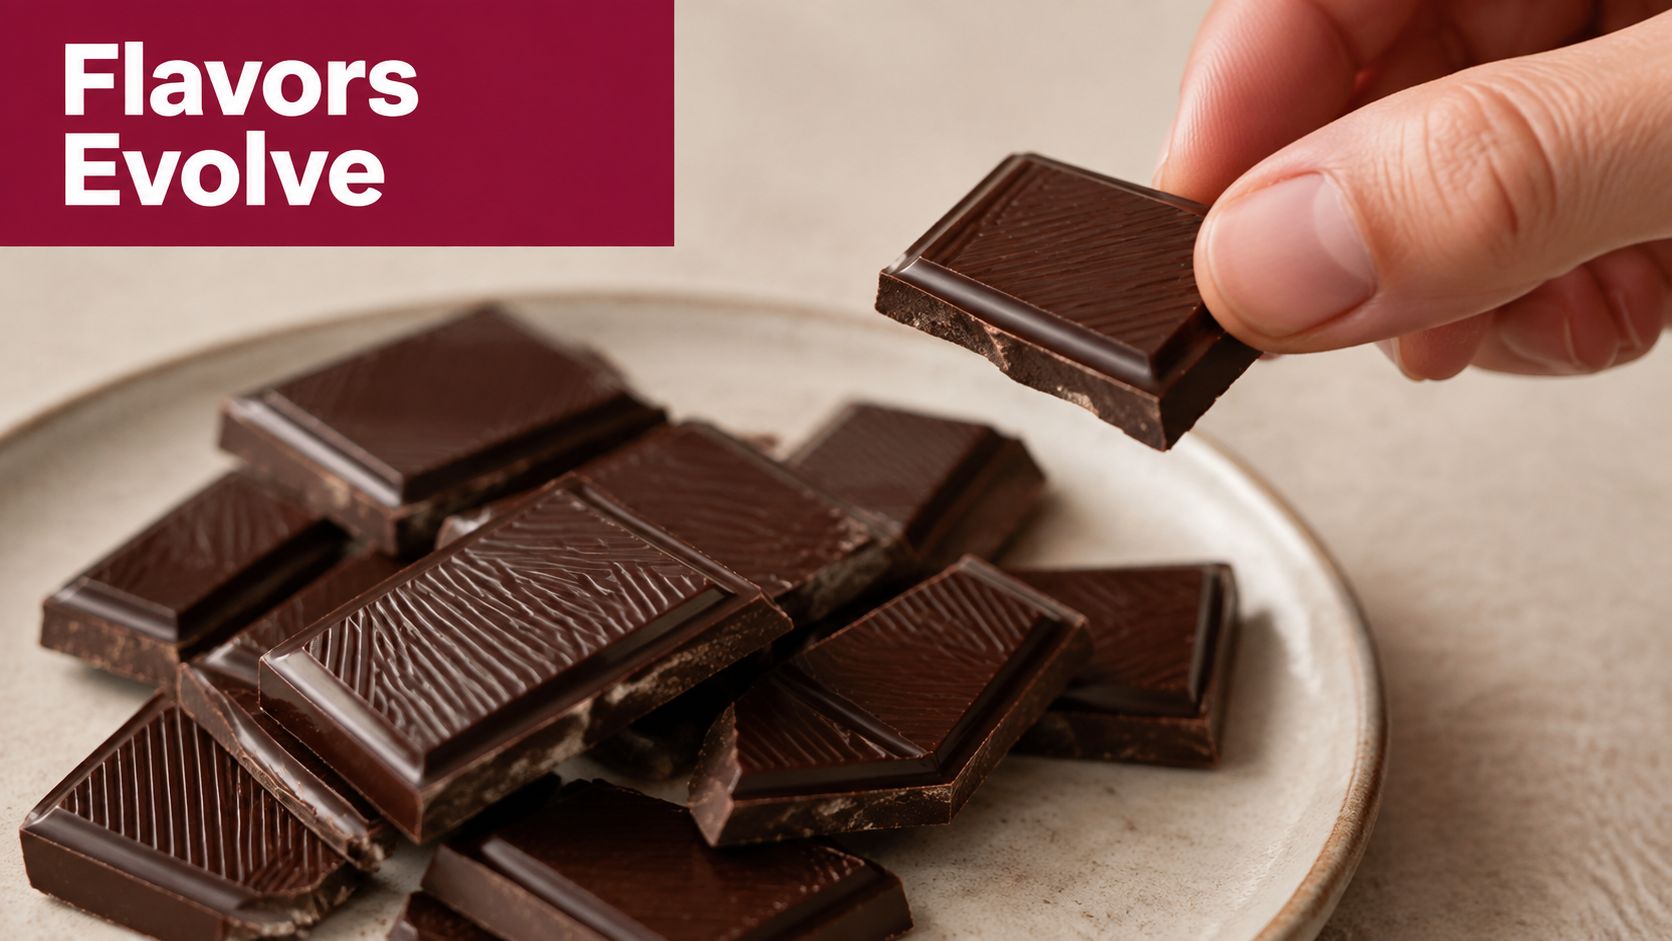
Initial impression
As the chocolate first touches your tongue, notice the immediate sensations. You may detect sweetness, acidity, bitterness, roast, or a particular aroma before the piece has fully melted. This is the moment to describe the opening without trying to predict the finish.
A useful exercise separates taste from aroma. Pinch your nose while the chocolate begins to melt and focus on basic taste and texture. Then release your nose and breathe normally. The returning retronasal aroma may reveal fruit, flowers, spice, nuts, or roast that wasn't obvious at first.
Middle development
As the chocolate spreads across the palate, flavors often become more layered. A bright opening may soften into cocoa, caramel, earth, or roast. Texture changes too. A firm piece may become creamy, then more coating or drying as the cocoa solids and fat move across the mouth.
Write down the transition in plain language:
- Opening: sharp and berry-like
- Middle: softer, cocoa-rich, lightly floral
- Finish: dry, roasted, and persistent
This format prevents you from collapsing the whole experience into one adjective. It also helps you compare bars that seem similar at first but diverge as they melt. For more context on the distinctive character of pure cacao, compare your observations with this discussion of 100% chocolate and the pure taste of cacao.
Residual end-flavor
The residual note is what remains after the main piece has disappeared. Ask whether the finish is balanced or dominated by one sensation. Does sweetness remain alongside bitterness? Does acidity feel lively or harsh? Does roast add depth, or does it cover the origin's more delicate notes?
Give the finish enough attention to distinguish duration from intensity. A flavor can be strong at first but vanish quickly. Another can begin and linger. That difference is one reason side-by-side flights teach more than isolated tasting.
How Origin and Roast Shape What You Taste
A bar from Ghana and a bar from Madagascar can share a continent yet taste entirely different. Origin establishes a baseline character through cacao genetics, growing conditions, fermentation, and drying. Roast changes how that character appears, bringing certain aromas forward, softening others, or making quieter notes easier to detect.
A sensory-evaluation study found a sweeter key aroma profile in the Ghanaian chocolate, while the Madagascan sample showed different fruit and acid-related qualities. Use this comparison to avoid treating a broad region as one flavor category. Origin gives you the starting pattern, but processing determines which parts become most noticeable.
Roast level works like adjusting the lighting on a view. A gentle, low-temperature roast can leave subtle floral or spice notes visible when those qualities are present in the cacao. A deeper roast may emphasize roasted or caramelized impressions and reduce the clarity of delicate aromas. Chemical and sensory research found that, except for acetic acid, identified odorants had higher odor-activity values in roasted chocolate. The findings support roasting as a force that can amplify or shift aroma, rather than making chocolate taste darker. See the findings from this 2023 study of roasting and chocolate aroma chemistry.
| Factor | Primary influence | Example notes |
|---|---|---|
| Origin | Baseline aroma and flavor character | Sweeter impressions from Ghanaian cacao, fruit and acid-related qualities in Madagascan cacao |
| Fermentation | Foundational flavor development | Fruit, acidity, cocoa depth, and other origin-linked qualities |
| Roast level | Aroma intensity and processing character | Light roast may preserve delicate acidity, while deeper roast can bring more roasted or caramelized impressions |
| Conching and refinement | Melt, texture, and aromatic integration | Smoothness, coating quality, and how clearly flavors separate |
Compare one variable at a time
Hold the roast level similar while comparing origins, and your attention can stay on origin. Use the same origin at different roast levels, and the changing aroma becomes easier to attribute to processing. This cocoa bean roasting guide explains why roasting is a flavor-defining stage.
Coffee tasting offers a useful organizational parallel. The Drinkist coffee journal separates observations such as aroma, acidity, body, and finish, while chocolate requires its own sensory vocabulary.
Place two questions beside each bar: “What does this origin contribute?” and “What might the roast be changing?” You may not answer either with certainty. The questions still help separate roast character from terroir and reveal how flavor shifts as the chocolate melts.
Building Your Tasting Vocabulary and Note-Taking Practice
A useful tasting vocabulary grows from repeated comparisons. Start with broad categories such as fruity, roasty, floral, and earthy, then become more specific when an impression remains clear. The goal is not to guess a perfect answer. It is to give a changing sensation a reliable name.
“Fruity” may develop into berry, dried fruit, citrus, or fermented fruit. “Roasty” may become toasted grain, coffee-like, smoke-like, or caramelized. Treat broad terms like the first sketch of a flavor. Each tasting can add another line without forcing a precise label too soon.
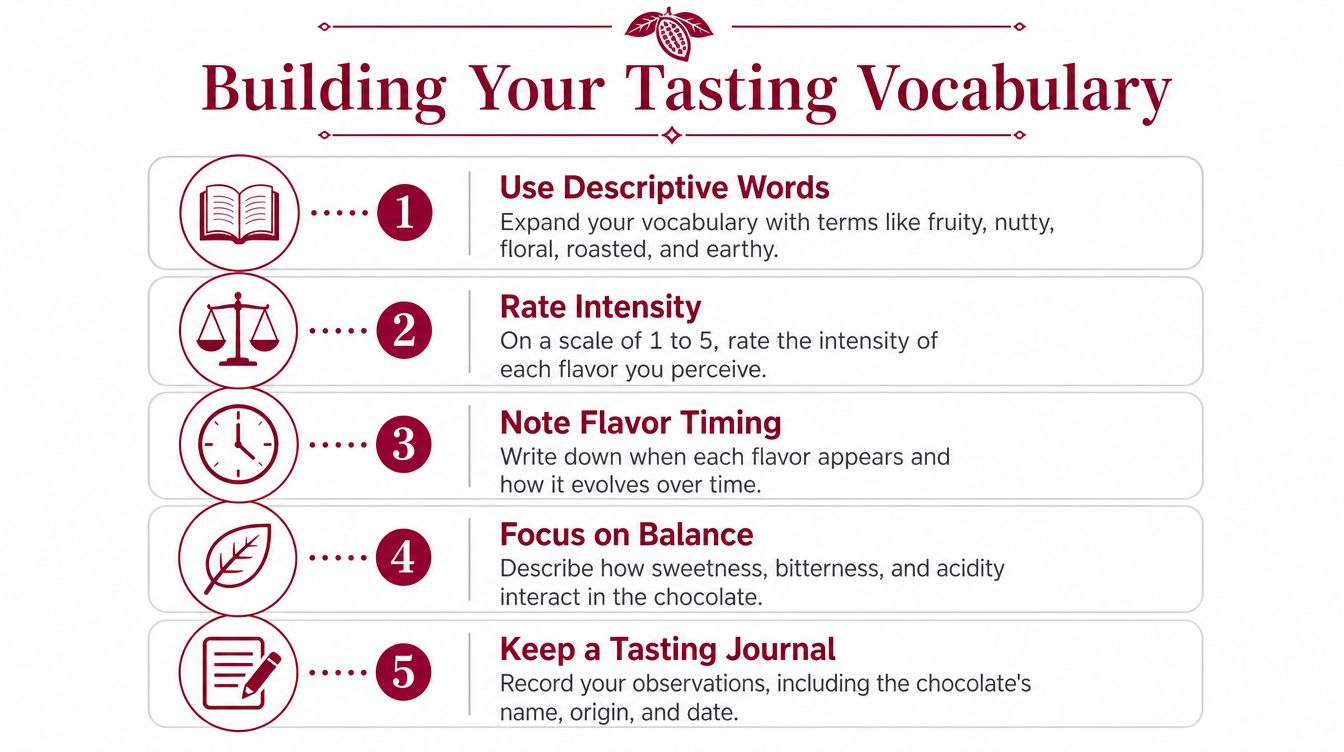
Use one page per sample
Write the chocolate name, origin, cocoa percentage, roast information if provided, and tasting date. Leave space for five observations:
- Appearance: Color, bloom, bubbles, surface quality
- Snap: Crisp, dull, firm, soft, clean break
- Aroma: Broad notes first, specific associations second
- Flavor evolution: Initial, middle, and residual impressions
- Mouthfeel: Melt speed, creaminess, dryness, astringency, coating quality
A simple intensity scale from 1 to 5 can help with snap, aroma, acidity, bitterness, or roast. It is a comparison aid, not a claim of laboratory precision. If a roast note begins faintly, grows during melting, and lingers afterward, recording each stage shows more than one overall score.
Professional sensory frameworks used in chocolate evaluation organize descriptors into categories such as basic tastes, aromas, and mouthfeel qualities, providing a repeatable analytical layer. The chocolate tasting ritual materials illustrate this kind of structure. You do not need to memorize this or any other tasting guide. Use the framework to give aroma and mouthfeel the same attention as sweetness and bitterness.
Practice with contrasts
Choose two chocolates that differ clearly in roast or origin. Taste one, rinse, pause, and taste the other. Return to your notes and ask which sample seemed lighter, darker, more acidic, more earthy, or more floral. Then notice whether the first impression changed as each piece melted.
Clear contrasts are easier to identify than highly specific fruit or spice notes, especially during an early purposeful tasting. Confidence comes from recording what you perceive, including uncertainty, rather than matching another taster's wording.
The coffee tasting notes guide offers a useful example of moving from general impressions toward precise descriptions. Apply that discipline to chocolate while keeping personal associations. If a floral note recalls a garden, or a spice note suggests baking, record the image beside the analytical term. Over time, those paired descriptions make your notes easier to interpret and your vocabulary more responsive to flavor's gradual changes.
Putting It All Together With Guided Tasting Flights
A good flight isolates a question. Compare origins to study place and cacao character, or compare roast levels to see how processing changes the same underlying material. Ghana and Madagascar make a useful origin contrast, while paired roast levels from one origin reveal how light, medium, or dark roasting can shift aroma and finish. An Origins Tasting Flight can give you a structured way to compare regional character while practicing the same sensory sequence.
Tasting improves through repetition, not performance. Choose bars with clear origin and processing information, invite a few people to compare notes, and let disagreement sharpen your attention rather than undermine it.
Fresco Chocolate offers single-origin dark chocolate, pure 100% bars and medallions, tasting flights, and classes designed for structured exploration of origin and processing. Visit Fresco Chocolate to choose a guided tasting starting point and put this method into practice.